Search Indiana WIC or IN WIC in Google Play or the App Store
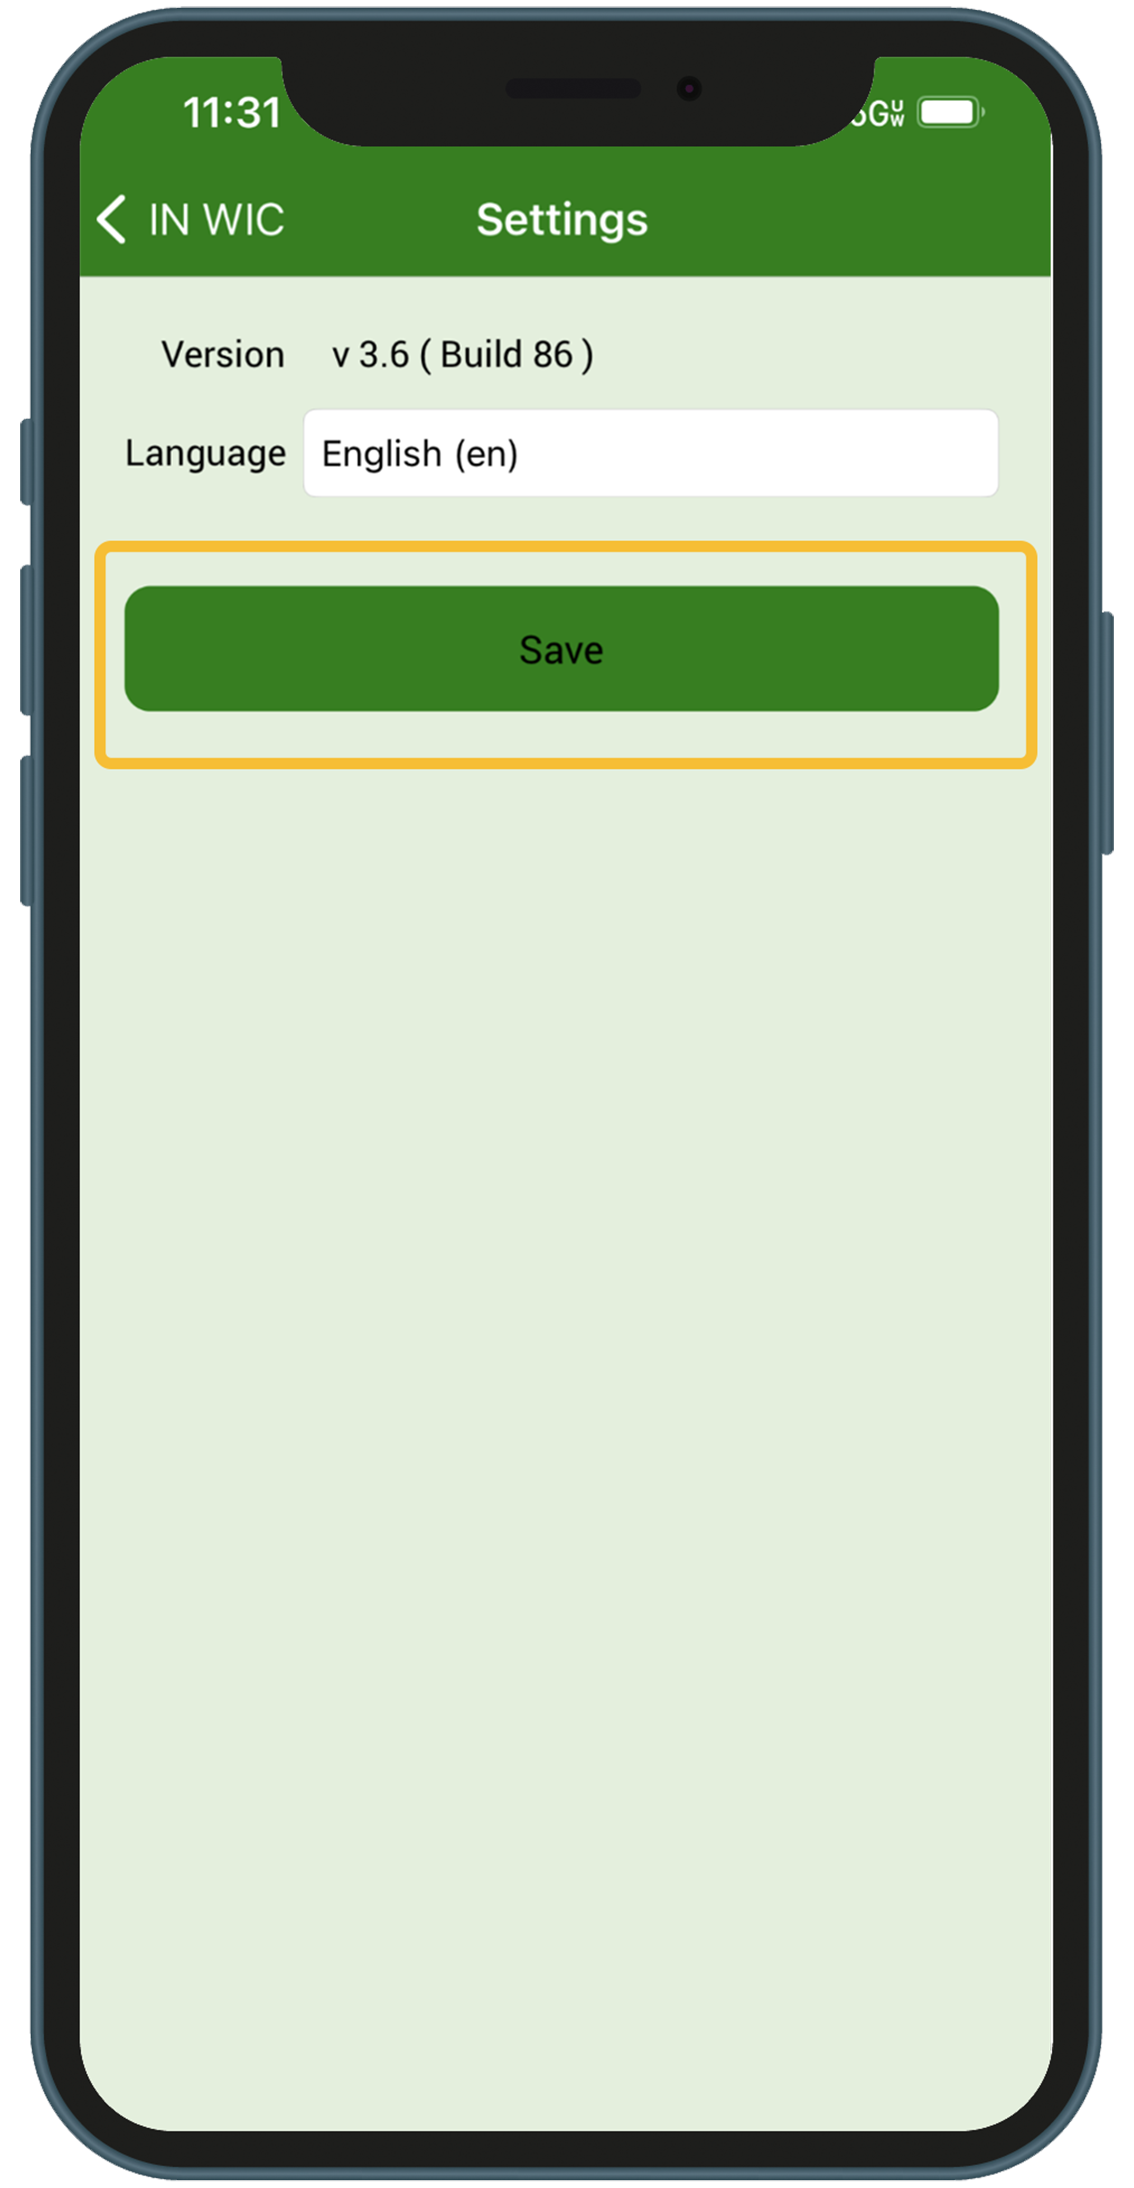
Select Language
Select the language for the app: English (default) or Spanish
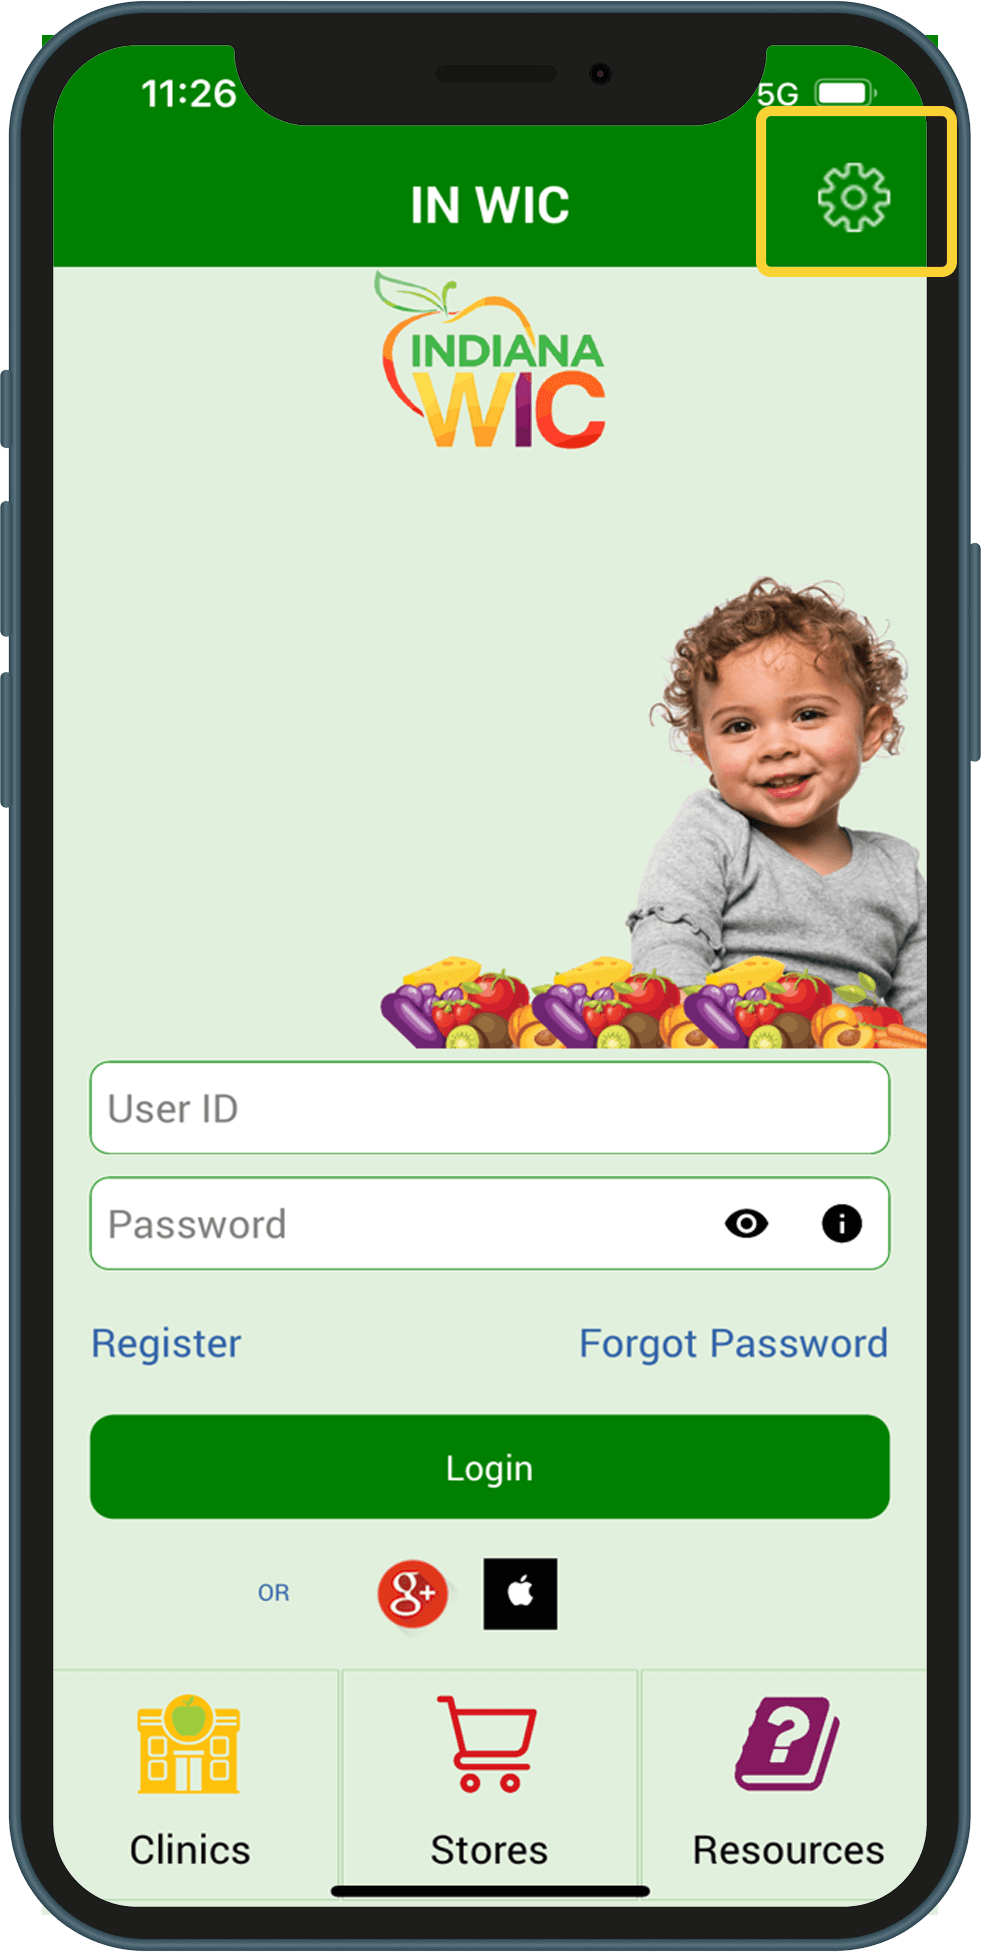
1.Tap the Settings icon at the top right of the screen
2.Scroll to select the desired language
3.Tap the Save button
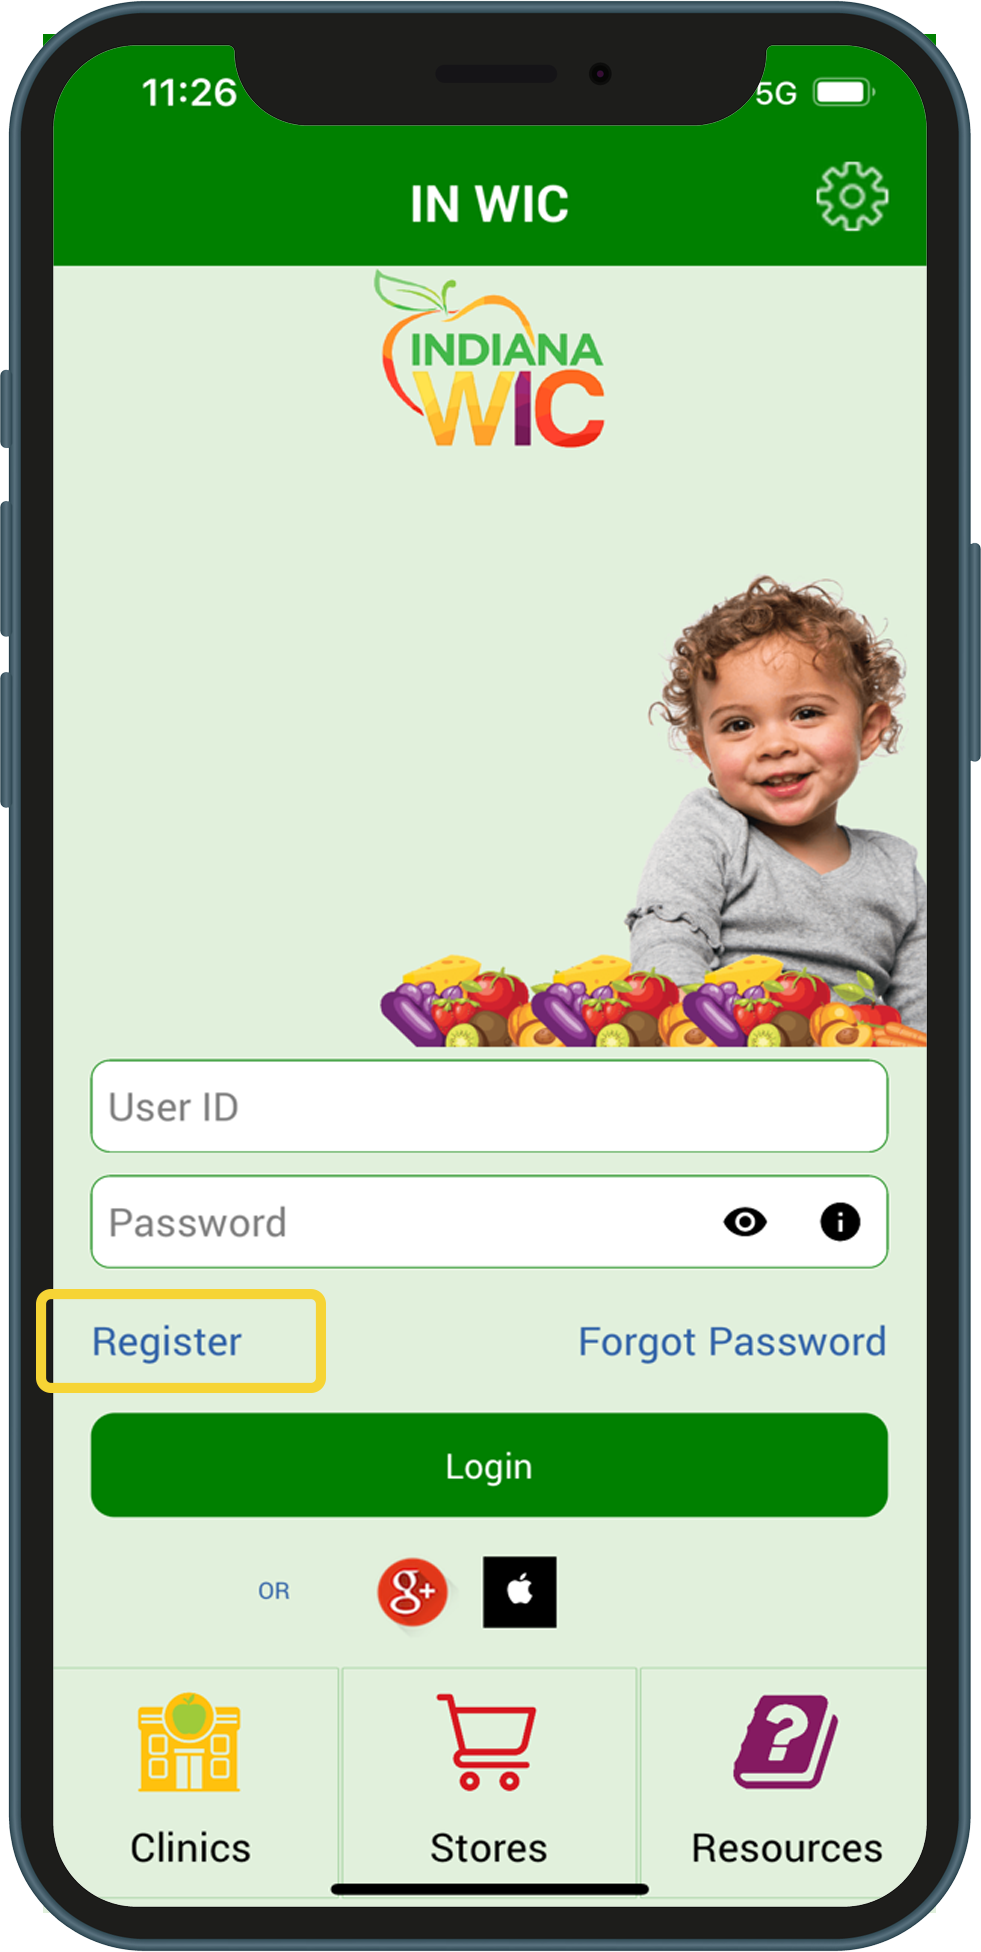
Register
To register through the app:
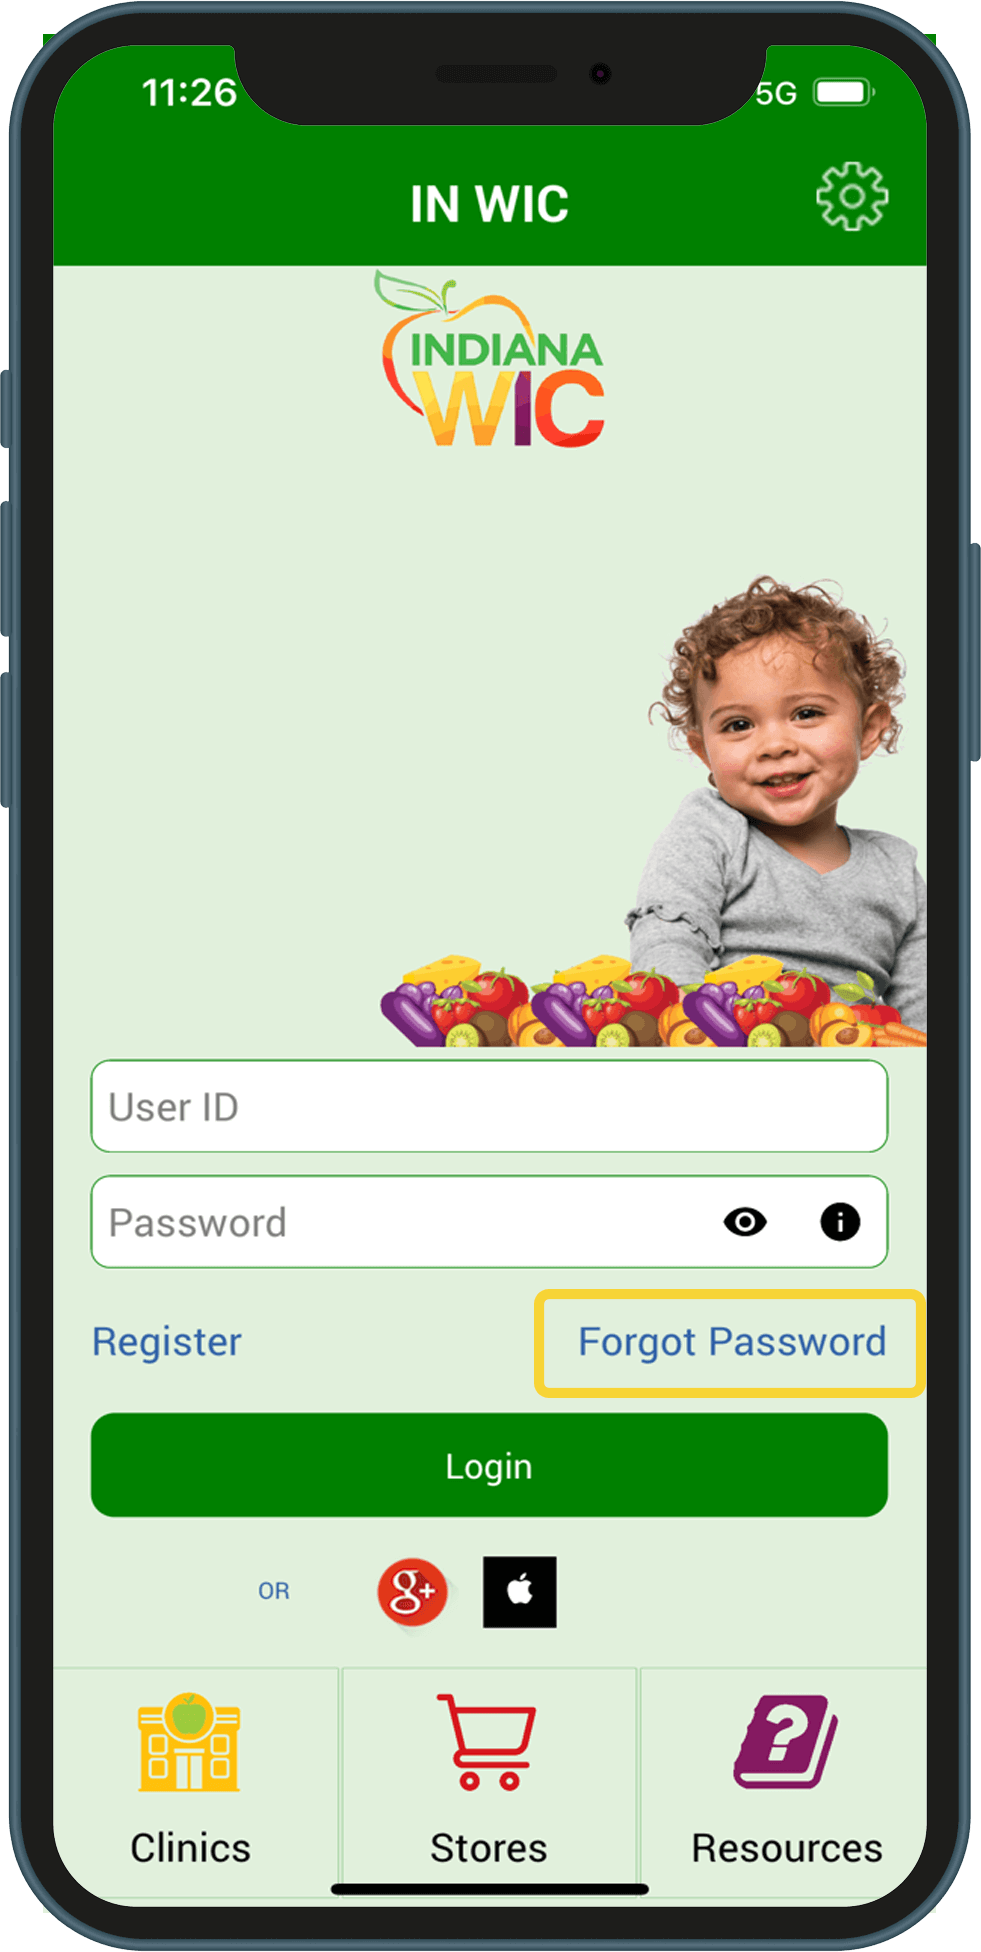
1.Tap the Register button on login screen (yellow box)
What You Need:
Email Address
Password – passwords must be: - Between 8 to 20 characters - Contain at least 1 lower case letter (a-z) - Contain at least 1 uppercase letter (A-Z) - Contain at least 1 number (0-9)
Active eWIC Card Number
Cardholder Birth Date – this is the birth date of the Authorized Representative for the household (MM/DD/YYY)
Zip Code of Street Address
To register with Google+ or Apple ID:
You may register and log in to the INWIC Mobile App using Google+ or Apple ID accounts.
1.On the login page, tap the icon for either Google+ or Apple ID and follow the prompts to enter the requested information.
2.The first time you login with Google+ or Apple ID, you will be prompted to enter your Indiana WIC account information. This registers the account with the Indiana WIC Household record.
3.You only have to register once.
What You Need:
Active eWIC Card Number
Cardholder Birth Date – this is the birth date of the Authorized Representative for the household (MM/DD/YYY)
Zip Code of Street Address
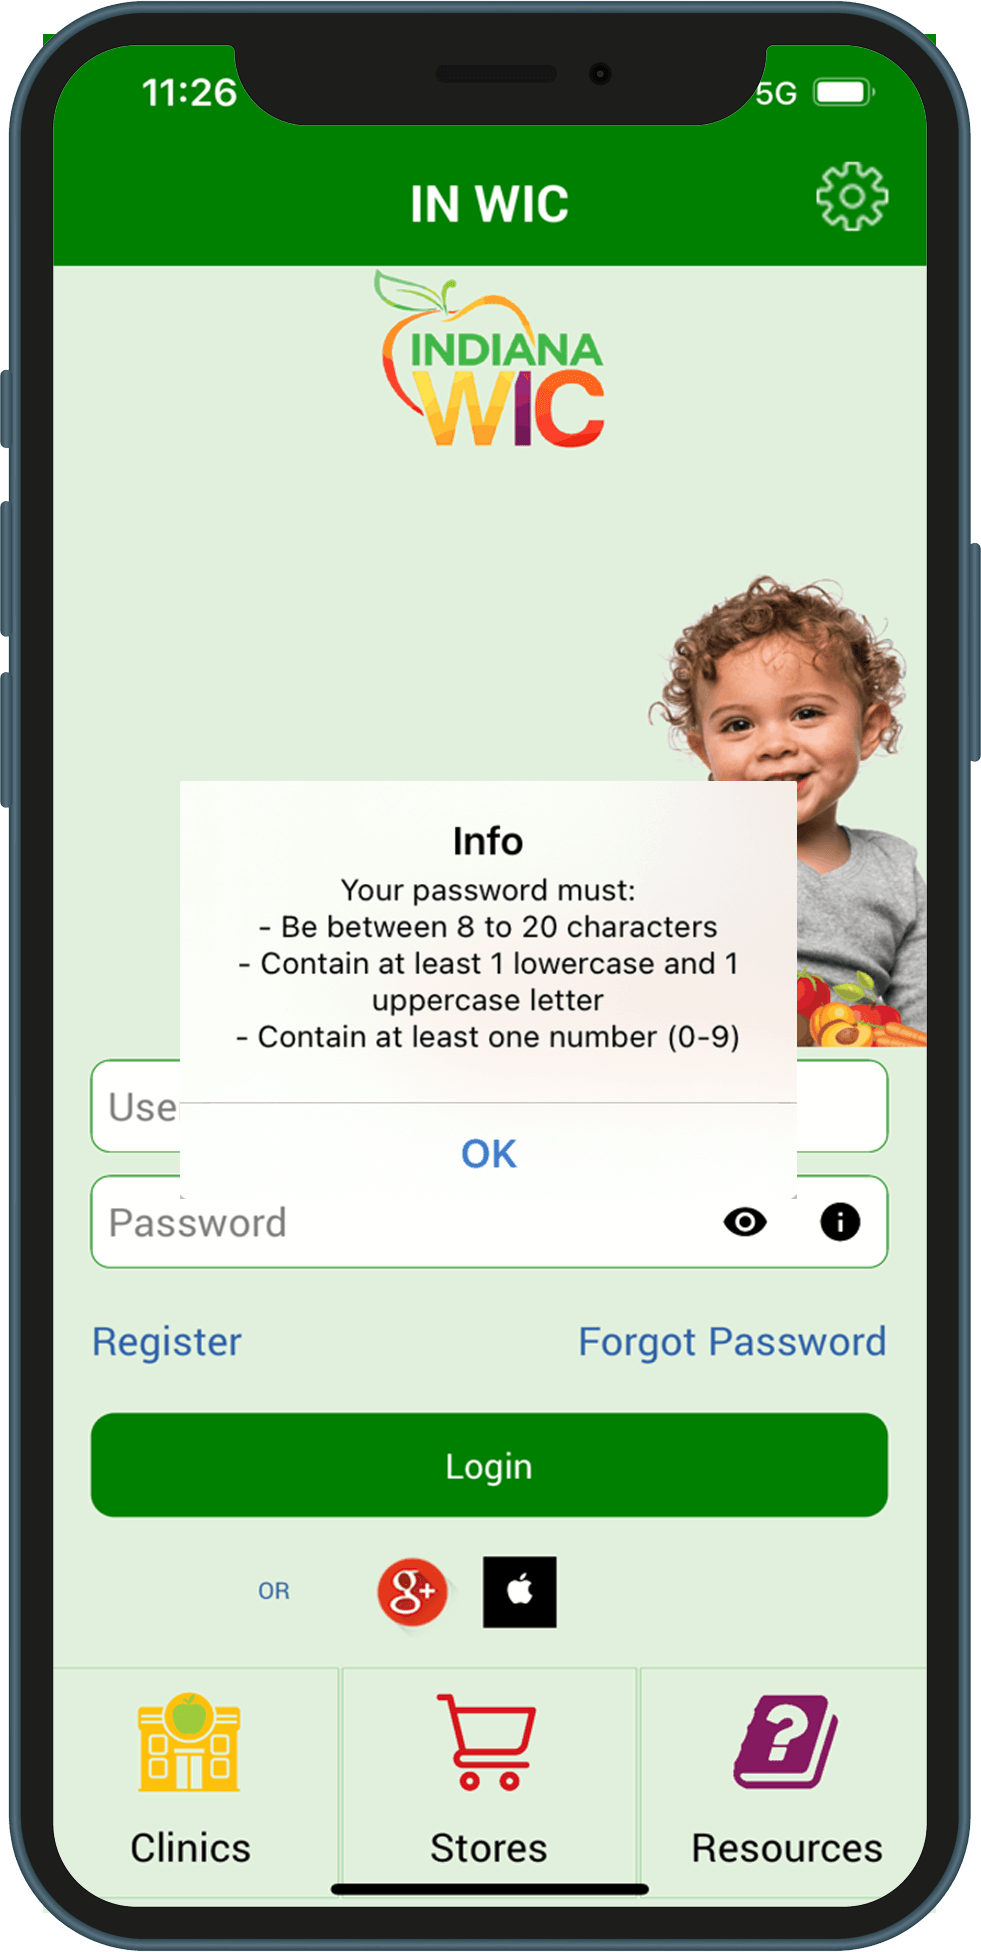
Password Help:
Any time you are required to enter your password, you may:
1.Tap the eye icon to view your password (yellow box)
2.Tap the eye icon again to hide your password (yellow box)
3.Tap the information icon to view password requirements (orange box)
iPhone Date Selector:
You must select the year first then select the month and day.
1.Scroll to the year you need (green box)
2.Scroll to the month (yellow box)
3.Scroll to the day (orange box)
Navigation
Menu:
The Menu icon in the upper left corner gives quick access to all menu options.
You can swipe right on any page to access all menu options.
Notifications:
The Bell icon in the upper right corner will have a red circle if you have a notification. Select Notifications from the menu option.
A notification is displayed if you have an appointment scheduled in 7 days.
A notification is displayed if your benefits are expiring in 7 days.
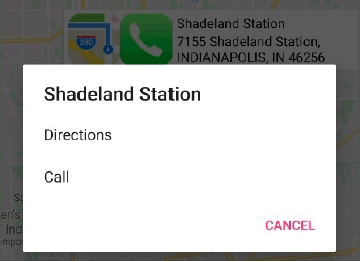
Location Icon:
You can tap the location icon whenever you see it to display the location of the clinic or store on your phone’s mapping app.
NOTE: Android phones have an additional popup screen that is displayed after the phone or map icon has been tapped. Tap “Directions” to display the location. Tap “Call” to dial the phone number.
Phone Icon:
You can tap the phone icon whenever you see it to call the clinic or store without typing in the phone number.
Benefits Screen:
The Benefits screen shows all items available in the benefit period displayed at the top of the screen.
Each item shows the remaining amount that can be purchased.
The current benefit period is always displayed first.
1.Tap the Future tab to see future benefits (yellow box).
2.Tap a food icon to see what is allowed to be purchased including package size, type, and brands (orange box).
3.Tap the Fruit and Vegetable icon to access the Cost Calculator. Enter the price and the weight of your produce, and it will calculate the cost.
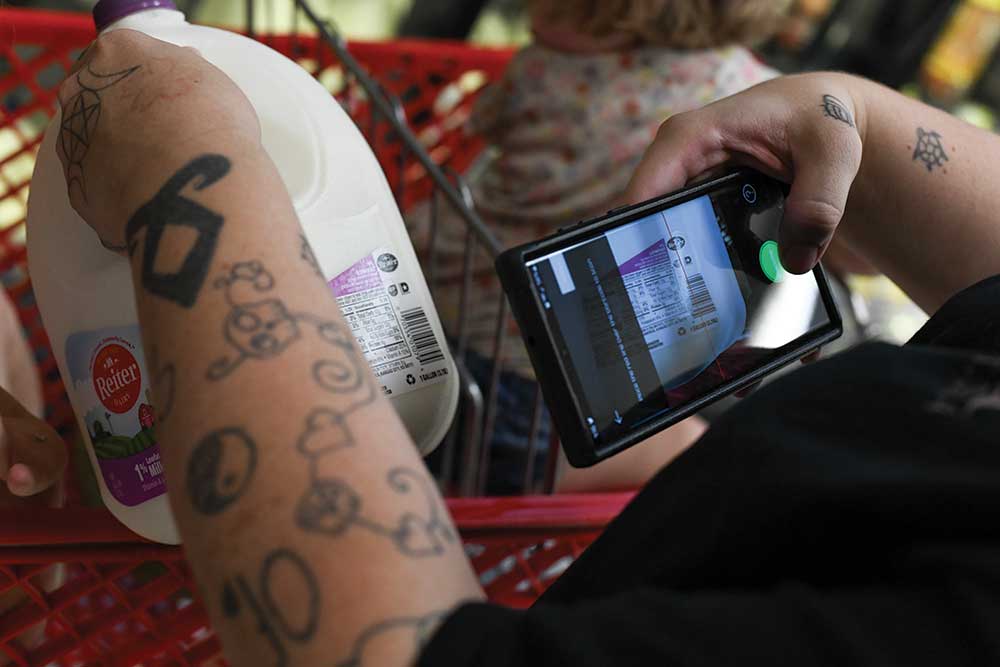
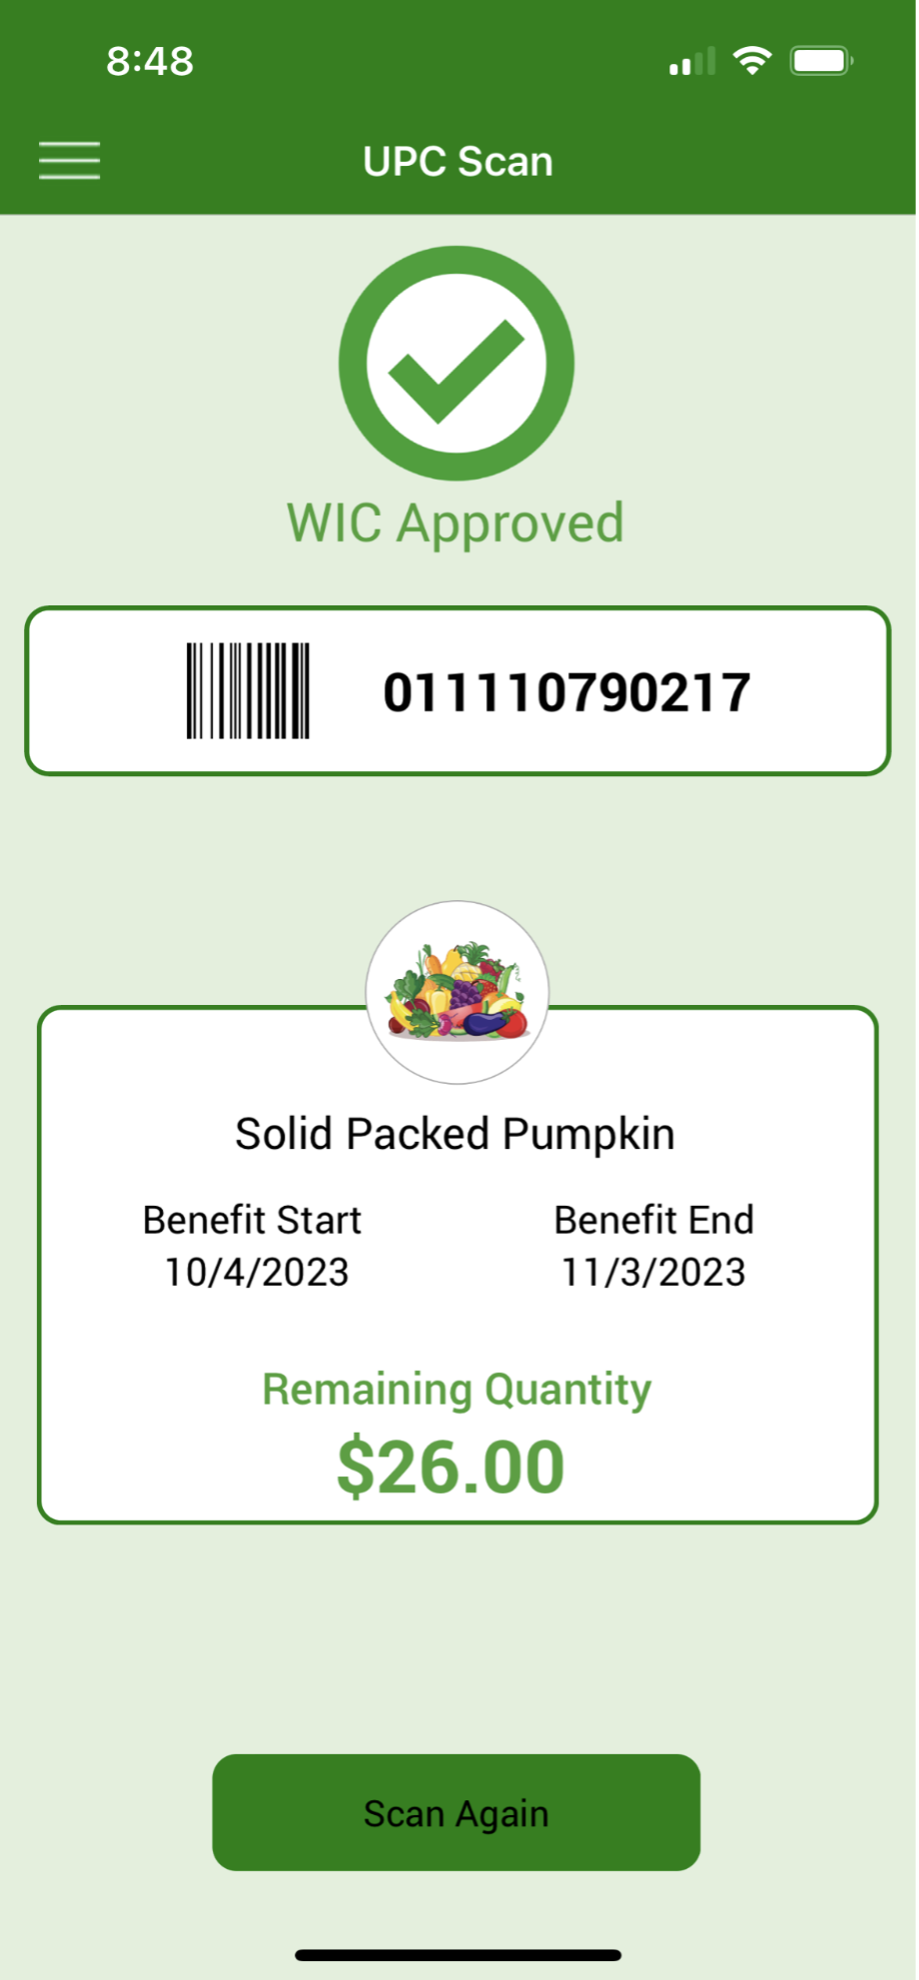
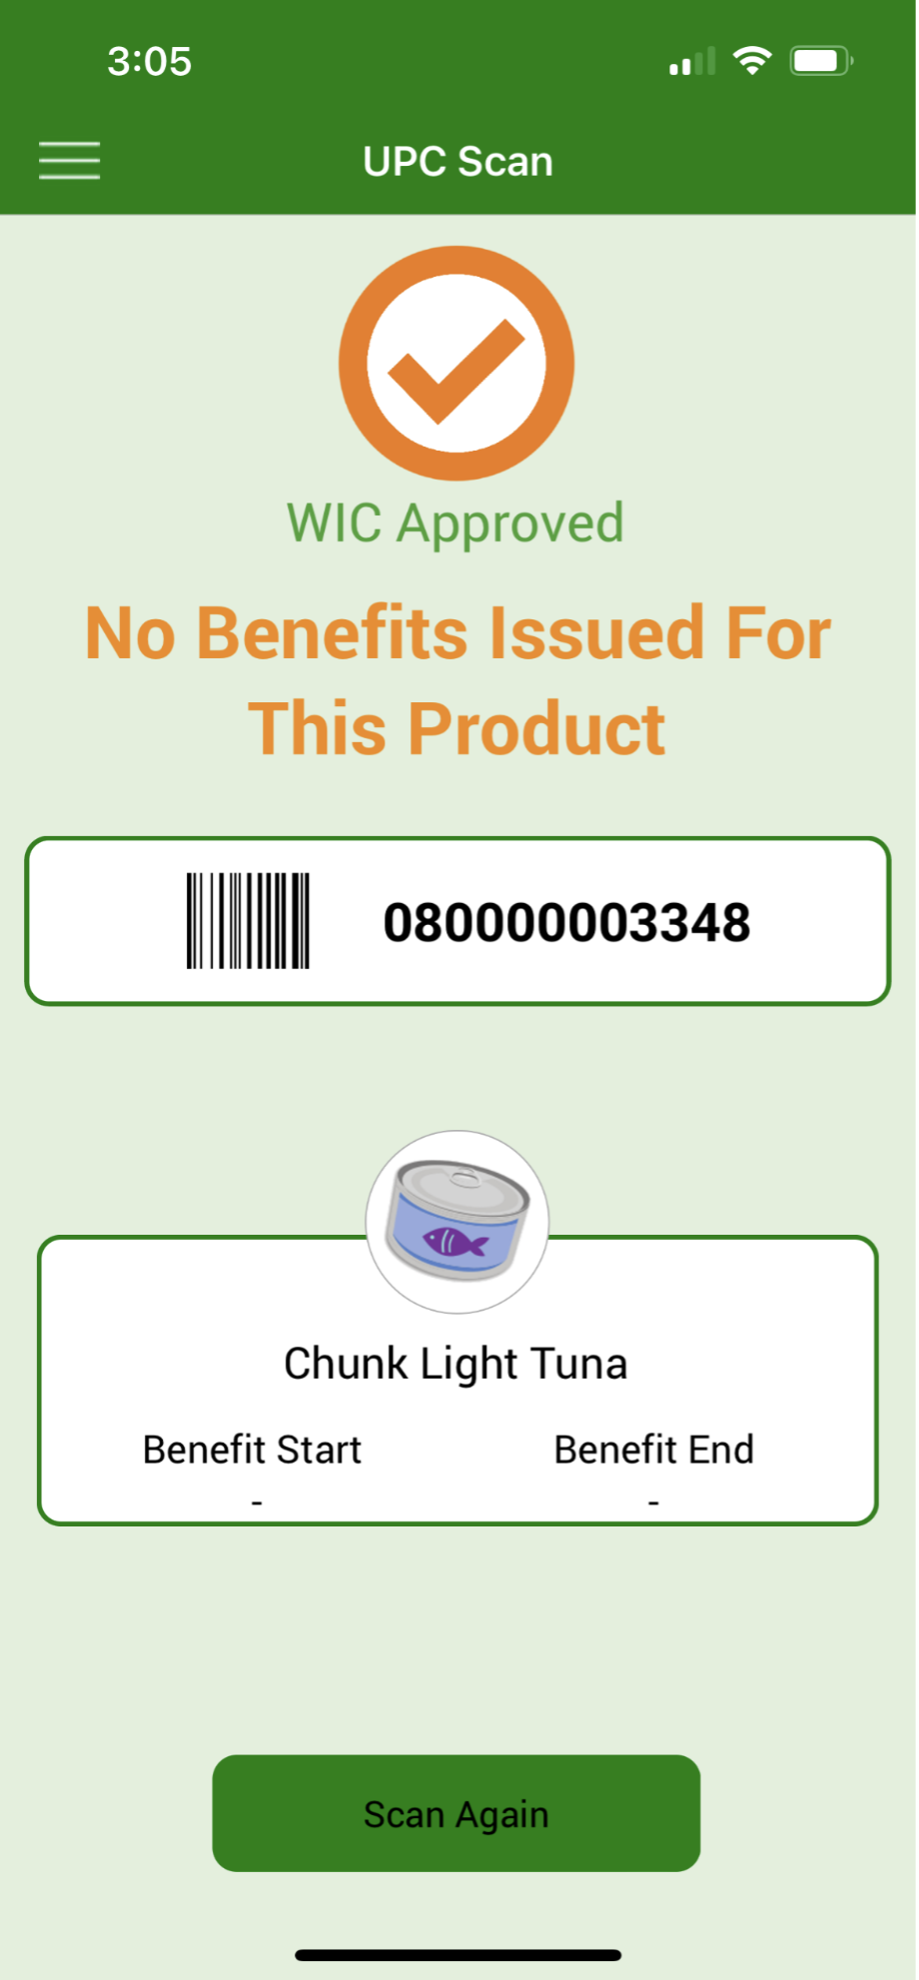
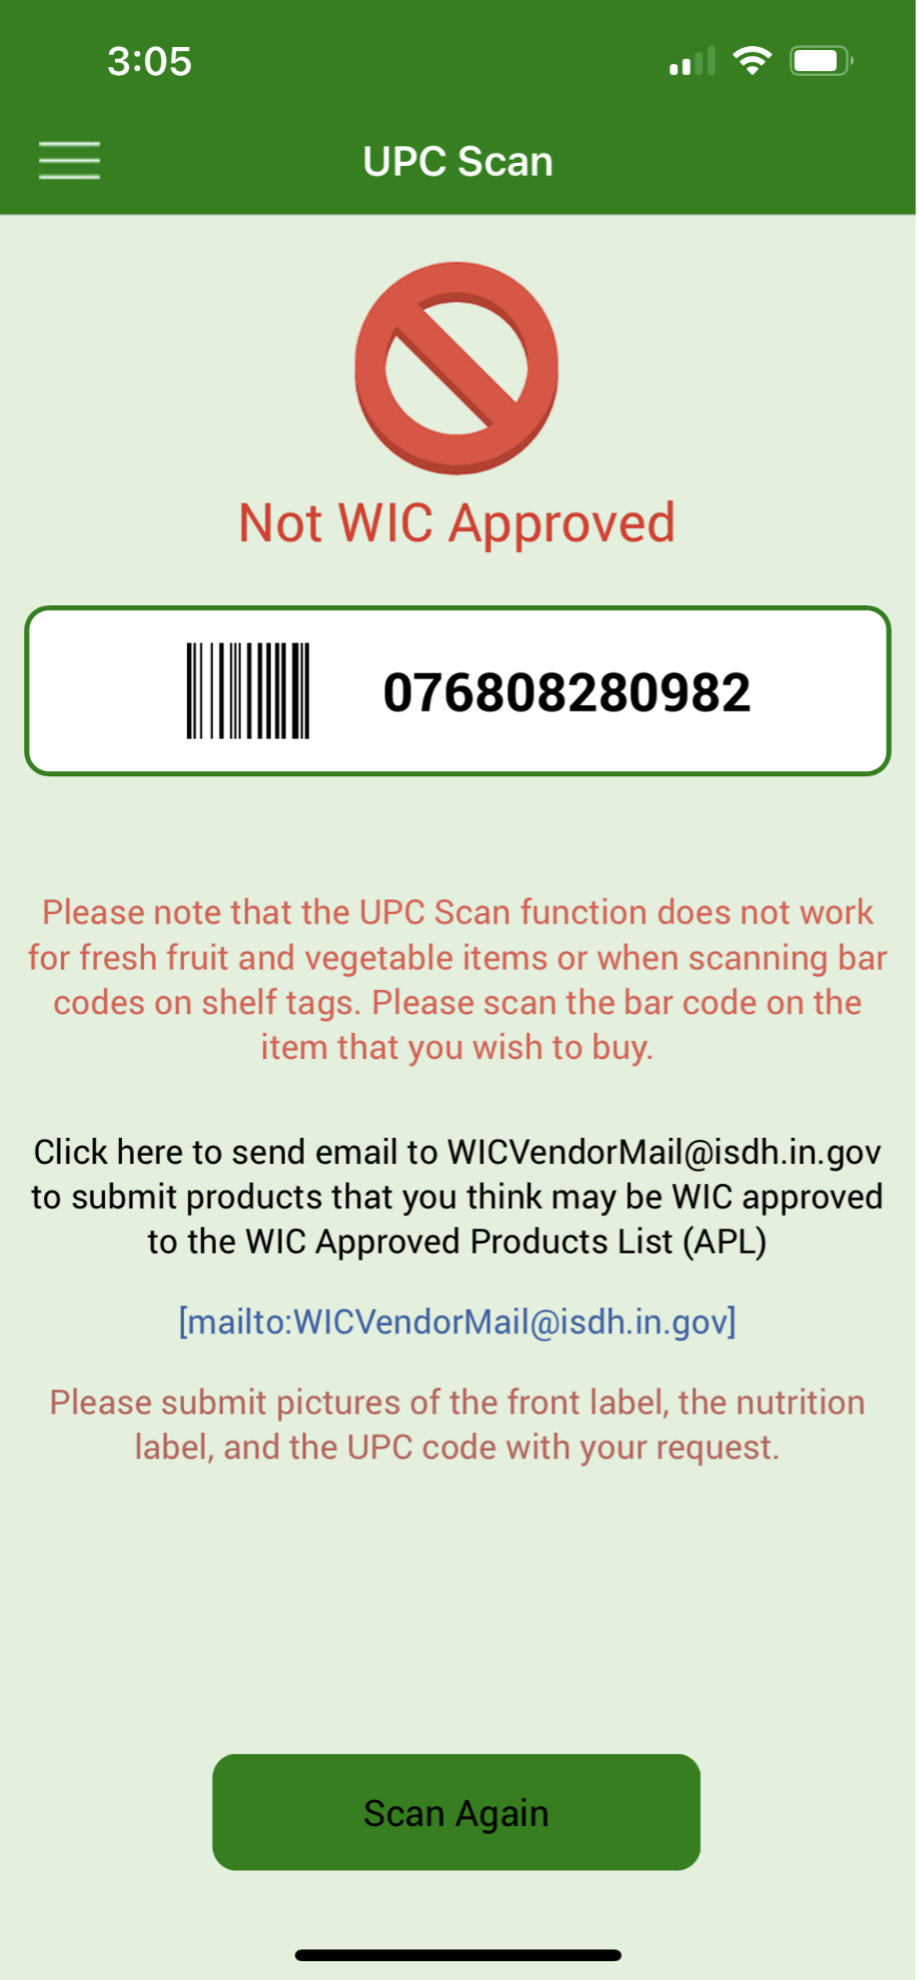
UPC Scan:
Use the UPC scanner to check if a product is WIC approved and if it is included in your benefits.
You will see one of these three messages:
WIC Approved, and it is in your benefits package
WIC Approved but, it is NOT in your benefits package
Not a WIC Approved product
Scan the UPC code on the product package NOT the shelf UPC code.
Scanning UPC codes for fresh produce will NOT work. Tap the Fruit and Vegetable icon on the Benefits page to see approved products.
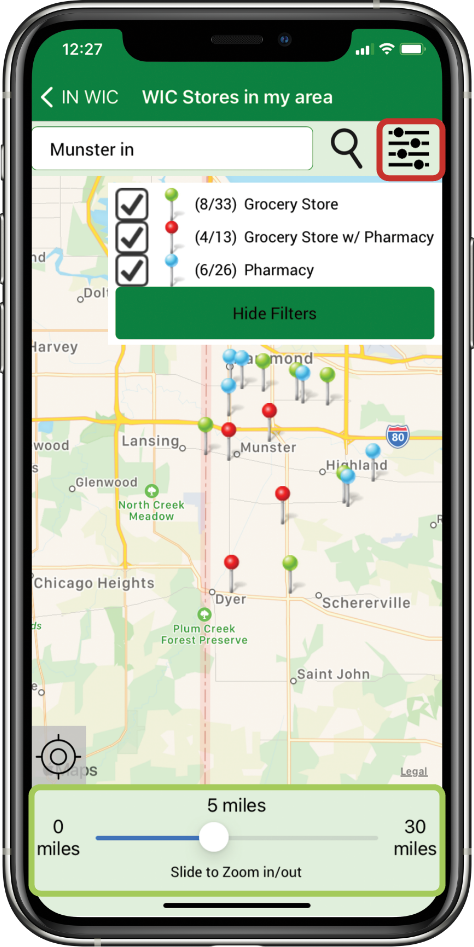
Clinic and Store Search:
You can search by address or zip code.
The default search area is 5 miles. Zoom in or out using the scroll bar at the bottom of the page (green box).
Touching the pin displays the name and address of the clinic or store.
Stores: The color of the Pin identifies the store type. - Green – Grocer - Red – Grocer w/Pharmacy - Blue – Pharmacy only - Pink – All other types
Stores can be displayed by their type. Tap the filter icon (red box) and check the type you want displayed.
Nutrition Education
Tap this link for the Nutrition Education Quick Reference Guide
I can’t see the box where I can enter my password:
Make the font size smaller on the phone. In the past, this issue has been caused by the size of the text or display on the phone. We have changed the app to do it’s best to resize the screen for each specific phone, but the number of different types of Android phones makes this challenging.
Here are some instructions that may be helpful for Android users:
1.Tap the Forgot Password button on the login screen (orange box)
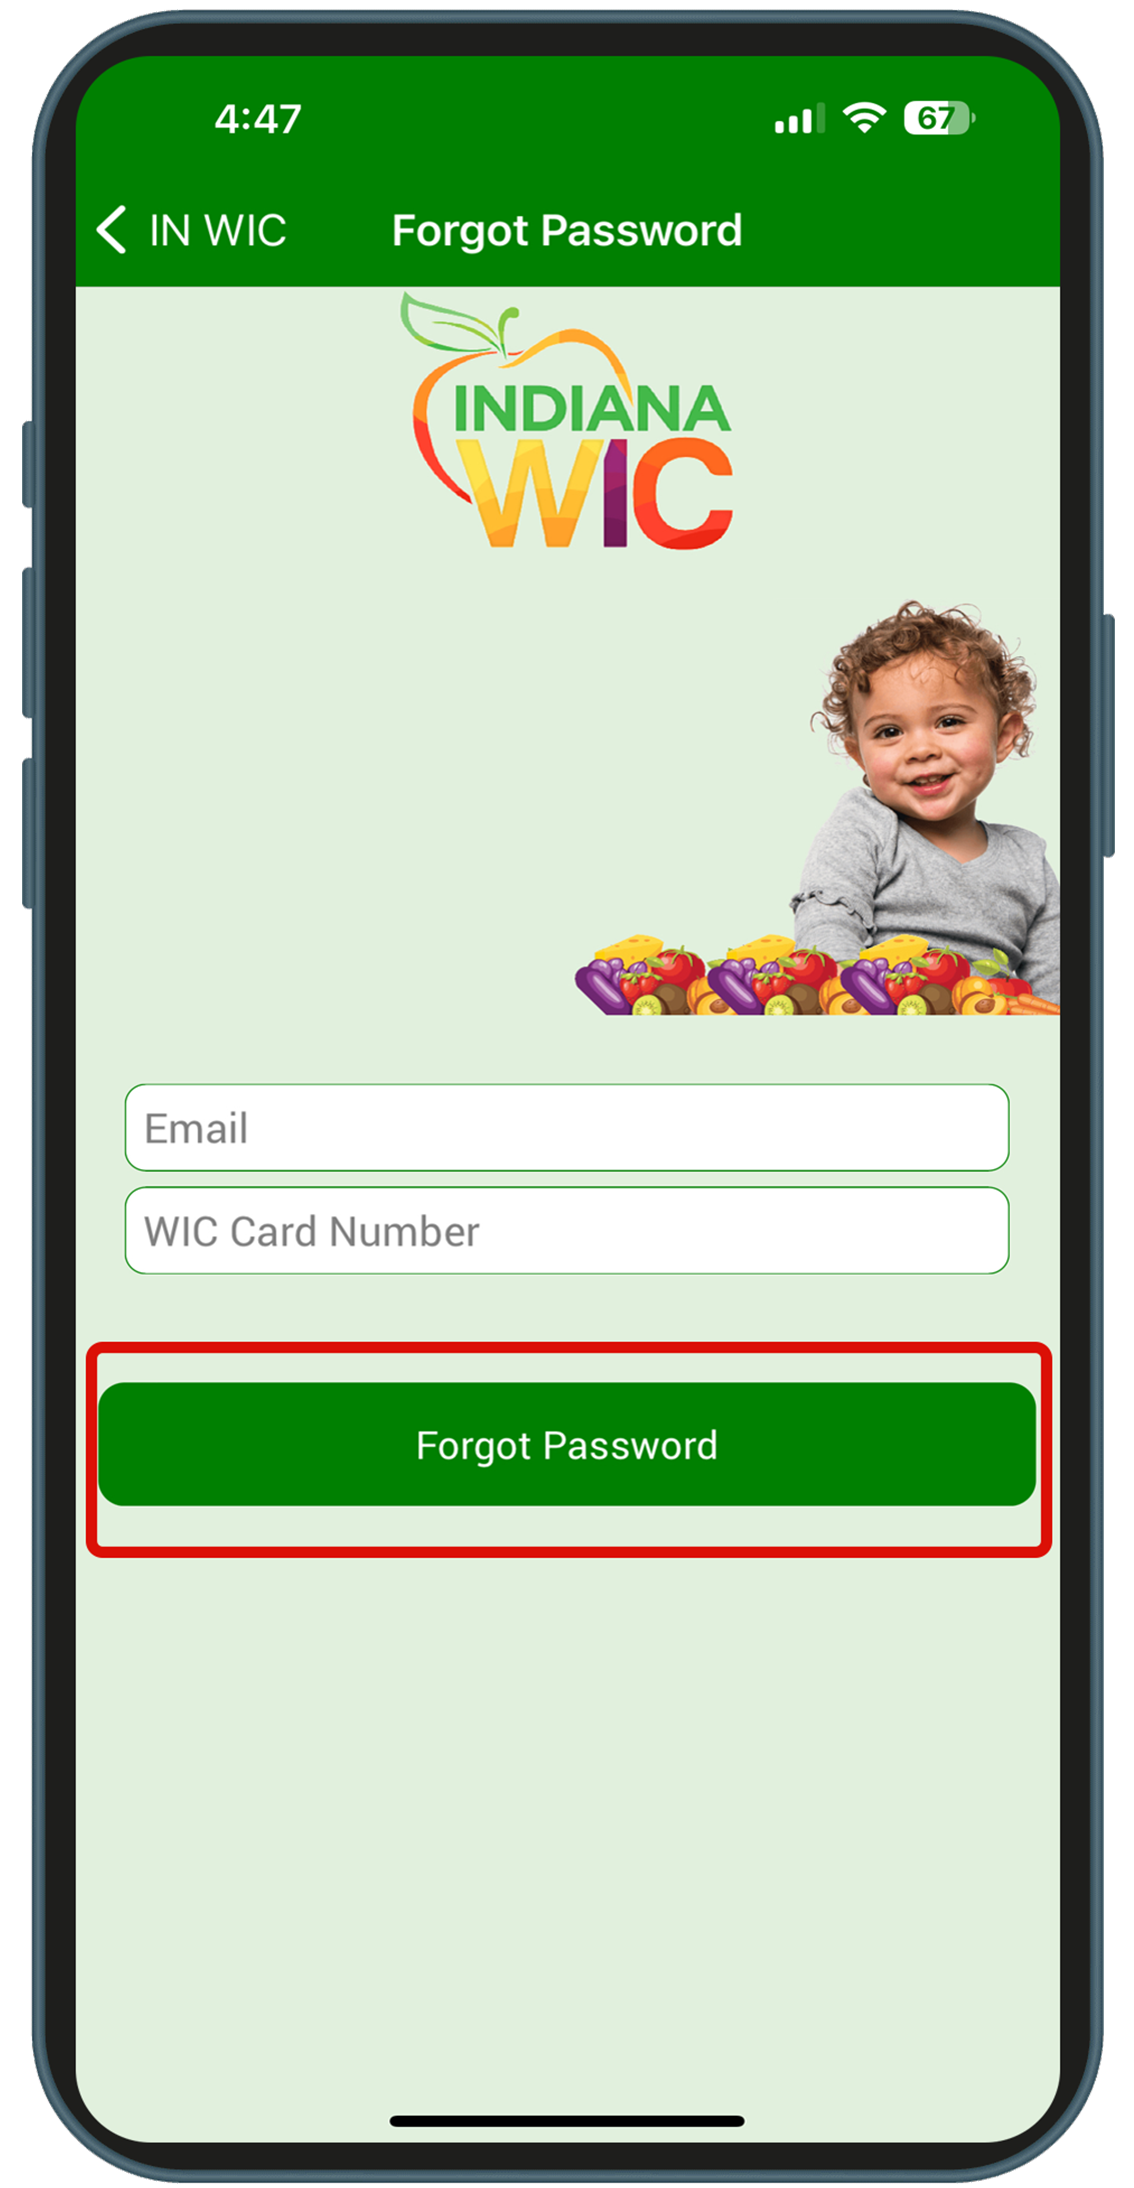
2.Enter the email address you use to login
3.You will be prompted to enter one of the following: – Active eWIC Card Number – Cardholder Birth Date – this is the birth date of the Authorized Representative for the household (MM/DD/YYY) – Street Address Zip Code
4.Tap the Forgot Password button (red box)
I know my password, but I want to change it. How do I change my password?
1.Login to the INWIC Mobile App
2.Tap the Menu button at the top left of the Home Page
3.Tap the Change Password button
4.Enter your current password
5.Enter your new password in the New Password and Confirm Password boxes
6.Tap the Change Password button
This institution is an equal opportunity provider.
For the right breast, lie on your right side with your baby facing you.
Pull your baby close. Your baby’s mouth should be level with your nipple.
In this position, you can cradle your baby’s back with your left arm and support yourself with your right arm and/or pillows.
Keep loose clothing and bedding away from your baby.
Reverse for the left breast.
This hold is useful when:
You had a C-section
You want to rest while baby feeds
You are breastfeeding in the middle of the night
You and your baby are comfortable in this position
Cross-Cradle Hold
For the right breast, use your left arm to hold your baby’s head at your right breast and baby’s body toward your left side. A pillow across your lap can help support your left arm.
Gently place your left hand behind your baby’s ears and neck, with your thumb and index finger behind each ear and your palm between baby’s shoulder blades. Turn your baby’s body toward yours so your tummies are touching.
Hold your breast as if you are squeezing a sandwich. To protect your back, avoid leaning down to your baby. Instead, bring your baby to you.
As your baby’s mouth opens, push gently with your left palm on baby’s head to help them latch on. Make sure you keep your fingers out of the way.
Reverse for the left breast.
This hold is useful when:
Your baby is premature
Your baby has a weak suck
Your baby needs help to stay latched
Your baby needs extra head support
You and your baby are comfortable in this position
Clutch or “Football” Hold
For the right breast, hold your baby level, facing up, at your right side.
Put your baby’s head near your right nipple and support their back and legs under your right arm.
Hold the base of your baby’s head with your right palm. A pillow underneath your right arm can help support your baby’s weight.
To protect your back, avoid leaning down to your baby. Bring baby to you instead.
Reverse for the left breast.
This hold is useful when:
You had a C-section
You have large breasts
You have flat or inverted nipples
You have a strong milk let-down
You are breastfeeding twins
Your baby likes to feed in an upright position
Your baby has reflux
You and your baby are comfortable in this position
Cradle Hold
For the right breast, cradle your baby with your right arm. Your baby will be on their left side across your lap, facing you at nipple level.
Your baby’s head will rest on your right forearm with your baby’s back along your inner arm and palm.
Turn your baby’s tummy toward your tummy. Your left hand is free to support your breast, if needed. Pillows can help support your arm and elbow.
To protect your back, avoid leaning down to your baby. Instead, bring your baby to you.
Reverse for the left breast.
This hold is useful when:
Your baby needs help latching on
You and your baby are comfortable in this position
Laid-Back Hold
Lean back on a pillow with your baby’s tummy touching yours and their head at breast level. Some moms find that sitting up nearly straight works well. Others prefer to lean back and lie almost flat.
You can place your baby’s cheek near your breast, or you may want to use one hand to hold your breast near your baby. It’s up to you and what you think feels best.
Your baby will naturally find your nipple, latch, and begin to suckle.
This hold is useful when:
Your baby is placed on your chest right after birth
You have a strong milk let-down
You have large breasts
You and your baby are comfortable in this position