We get most of the iron we need through the foods we eat.
Sources of iron include:
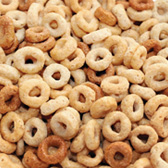
WIC-approved cereals
Legumes (peas, beans, lentils)
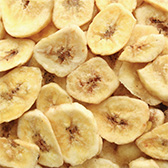
Dried fruits
Lean red meats, fish, chicken, turkey
Dark, leafy green vegetables
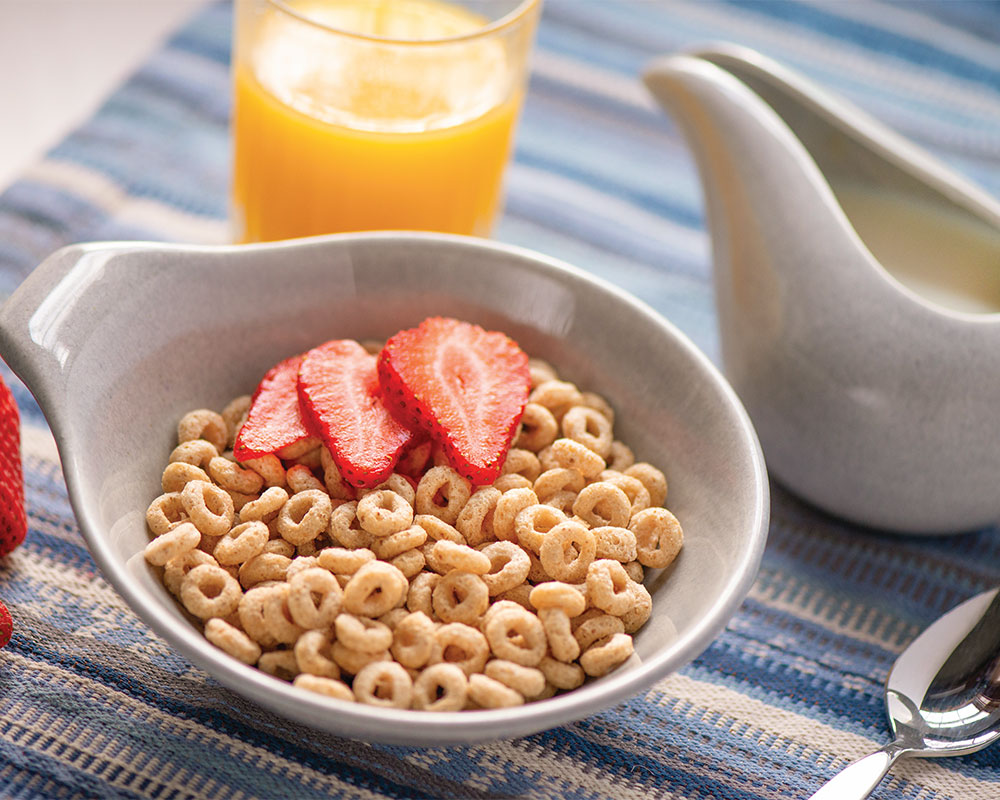
Vitamin C helps your body take in iron. Pair Vitamin C foods with iron rich foods.
Sources of Vitamin C include:
Oranges
Grapefruit
Tomatoes
Bell Peppers
Broccoli
Potatoes
Strawberries
Melon
WIC-approved juices
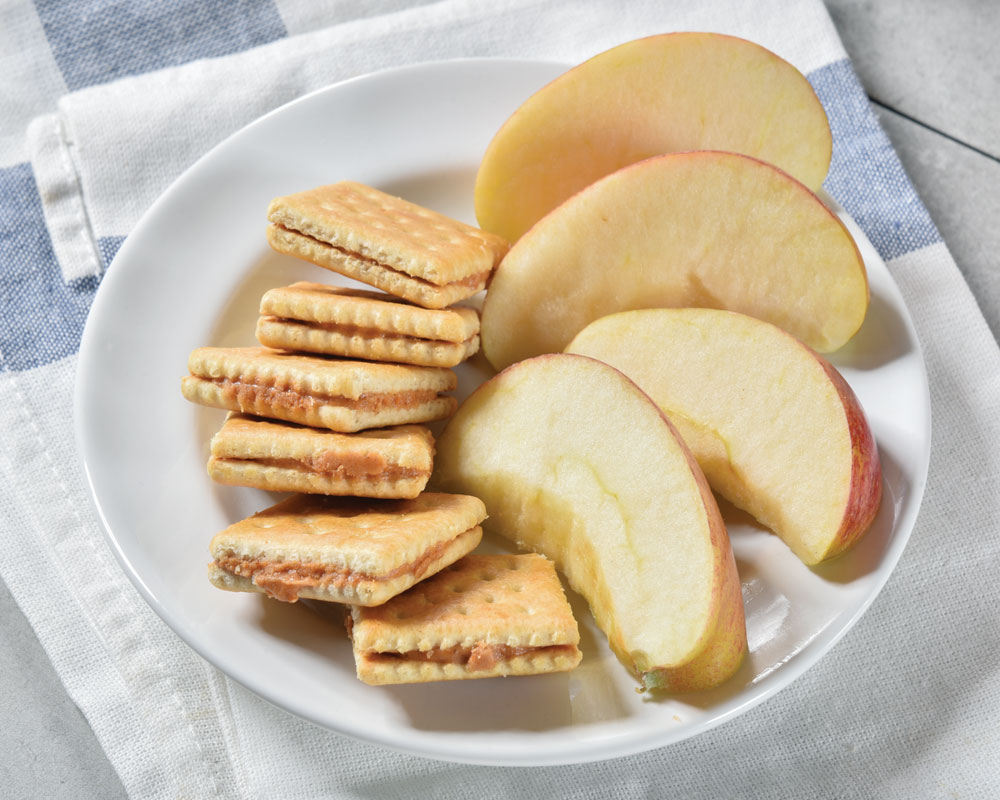
Try these Vitamin C + Iron food combinations
WIC CerealWIC Juice
CrackersWIC Peanut ButterFruit
Iron for Older Babies
Iron fortified infant cereal and pureed or soft meats may be given to infants starting at 6 months. Continue to give human milk until 2 years or beyond. If formula feeding, offer iron fortified infant formula until 12 months of age.
Age
Grains
Vegetables
Protein
8-9 Months
Infant cereal, plain whole grain bread, plain rice, or pasta
Cooked, strained, or mashed broccoli, peas, kale, and spinach
Pureed, ground, or finely chopped meats or poultry
10-12
Months
Warm cereal, such as oatmeal or cream of wheat
If baby has pincer grasp, try o-shaped cereal
Plain whole grain bread
Plain rice or pasta
Cooked, strained, mashed, or bite size pieces of broccoli, spinach, kale,
and peas
Peas can be a choking hazard if not mashed
Chopped or ground lean meat, fish, and chicken
Cooked eggs
Mashed beans
Recipes
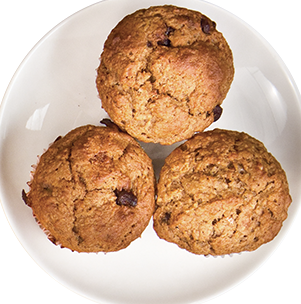
Chocolate Chip Cheerios Muffins
Ingredients
2 cups Cheerios cereal 1 ¼ cups all-purpose flour 1⁄3 cup light brown sugar, packed 1 teaspoon baking powder 1 teaspoon ground cinnamon ¾ teaspoon baking soda 1 cup applesauce 1/3 cup fat-free milk 2 tablespoons vegetable oil 1 egg 1/3 cup miniature semisweet chocolate chips
Directions
Preheat oven to 400⁰ F.
Place paper baking cups in 12 regular-size muffin cups.
Place cereal in resealable plastic bag; seal bag. Using a rolling pin, crush cereal; pour into a large bowl.
Add flour, brown sugar, baking powder, cinnamon, and baking soda; mix well.
Stir in remaining ingredients just until moistened.
Divide batter evenly among muffin cups.
Bake 18 to 22 minutes, or until golden brown.
Immediately remove from muffin tins.
Cool 5 minutes before serving.
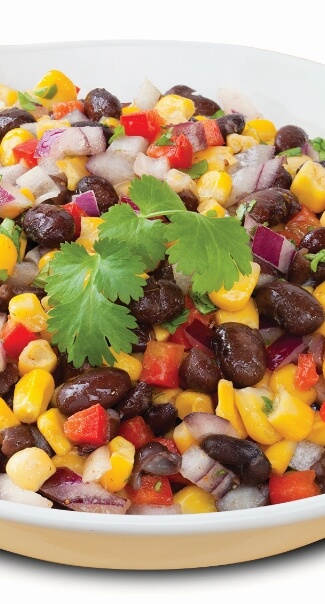
Texas Caviar
Ingredients
15 ounce black beans, canned 15 ounce corn, canned 4 medium plum tomatoes 1 stalk green onion 1 medium bell pepper, green 1 medium bell pepper, red 1/4 cup Italian dressing, low-fat 1 medium lime 1/4 cup cilantro
Directions
Drain and rinse black beans and corn. Chop tomatoes, green onion, and bell peppers. Add to a medium bowl and stir.
Add the Italian dressing, the juice from the lime, chopped cilantro, toss to coat.
Serve immediately or chill before serving.
Store in a sealed container in the refrigerator up to 3 days.
Serve as a side dish or with baked tortilla chips. Use as topping for baked chicken or fish.
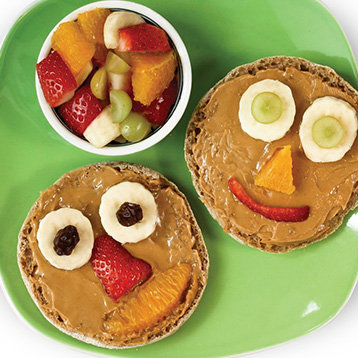
Smiley Face English Muffins
Ingredients
Whole wheat English muffins Peanut butter Banana, peeled and thinly sliced Raisins Strawberries, trimmed and cut in half Grapes, each cut into 4 thin slices Oranges, peeled and sectioned
Directions
Slice muffins in half and toast.
While still warm, spread peanut butter on each toasted muffin half.
Top with fruit pieces to create smiley faces. Use banana slices, grape slices, or raisins for the eye, half a strawberry for the nose, and one section of orange for the mouth.
Use remaining fruit to make more faces, or serve on the side as a fruit salad.
This institution is an equal opportunity provider.
For the right breast, lie on your right side with your baby facing you.
Pull your baby close. Your baby’s mouth should be level with your nipple.
In this position, you can cradle your baby’s back with your left arm and support yourself with your right arm and/or pillows.
Keep loose clothing and bedding away from your baby.
Reverse for the left breast.
This hold is useful when:
You had a C-section
You want to rest while baby feeds
You are breastfeeding in the middle of the night
You and your baby are comfortable in this position
Cross-Cradle Hold
For the right breast, use your left arm to hold your baby’s head at your right breast and baby’s body toward your left side. A pillow across your lap can help support your left arm.
Gently place your left hand behind your baby’s ears and neck, with your thumb and index finger behind each ear and your palm between baby’s shoulder blades. Turn your baby’s body toward yours so your tummies are touching.
Hold your breast as if you are squeezing a sandwich. To protect your back, avoid leaning down to your baby. Instead, bring your baby to you.
As your baby’s mouth opens, push gently with your left palm on baby’s head to help them latch on. Make sure you keep your fingers out of the way.
Reverse for the left breast.
This hold is useful when:
Your baby is premature
Your baby has a weak suck
Your baby needs help to stay latched
Your baby needs extra head support
You and your baby are comfortable in this position
Clutch or “Football” Hold
For the right breast, hold your baby level, facing up, at your right side.
Put your baby’s head near your right nipple and support their back and legs under your right arm.
Hold the base of your baby’s head with your right palm. A pillow underneath your right arm can help support your baby’s weight.
To protect your back, avoid leaning down to your baby. Bring baby to you instead.
Reverse for the left breast.
This hold is useful when:
You had a C-section
You have large breasts
You have flat or inverted nipples
You have a strong milk let-down
You are breastfeeding twins
Your baby likes to feed in an upright position
Your baby has reflux
You and your baby are comfortable in this position
Cradle Hold
For the right breast, cradle your baby with your right arm. Your baby will be on their left side across your lap, facing you at nipple level.
Your baby’s head will rest on your right forearm with your baby’s back along your inner arm and palm.
Turn your baby’s tummy toward your tummy. Your left hand is free to support your breast, if needed. Pillows can help support your arm and elbow.
To protect your back, avoid leaning down to your baby. Instead, bring your baby to you.
Reverse for the left breast.
This hold is useful when:
Your baby needs help latching on
You and your baby are comfortable in this position
Laid-Back Hold
Lean back on a pillow with your baby’s tummy touching yours and their head at breast level. Some moms find that sitting up nearly straight works well. Others prefer to lean back and lie almost flat.
You can place your baby’s cheek near your breast, or you may want to use one hand to hold your breast near your baby. It’s up to you and what you think feels best.
Your baby will naturally find your nipple, latch, and begin to suckle.
This hold is useful when:
Your baby is placed on your chest right after birth
You have a strong milk let-down
You have large breasts
You and your baby are comfortable in this position