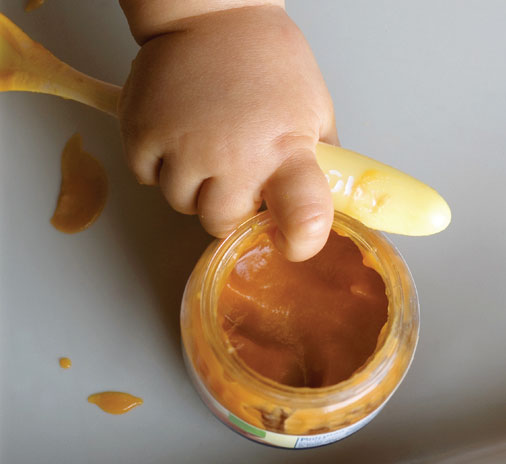
Foods Rich in Iron
- Beef
- Turkey (dark meat)
- Chicken (dark meat)
- Egg yolk
- Iron-fortified cereals (Infant cereals and cold cereals like Cheerios)
- Soybeans
- Lentils
- Beans (kidney, navy, black)
- Black eyed peas
- Tofu
- Spinach
- Prune juice
- Molasses


Of all the nutrients a baby needs to grow and thrive, iron stands out. That’s because it’s needed to carry oxygen to a growing brain and body. And there is no time in a person’s life that they will grow as fast as in the first two years (not even puberty)!
If your baby’s iron runs too low, iron deficiency or iron deficiency anemia can occur. According to the Centers for Disease Control (CDC), nearly one in seven kids between one and two years of age are iron deficient. If not corrected, it can delay your child’s development and thinking skills. In fact, this effect may be lasting as studies show children who were iron deficient during infancy may struggle in certain areas (like school and behavior) as they get older.
Don’t worry, there’s a lot you can do to prevent or treat iron deficiency to lower your child’s risk of problems.

Most babies who are born full term (40 weeks) have iron stores to last them about 4 to 6 months. Some babies are at increased risk for iron deficiency because they were born early or smaller. These include premature babies and those with a low birth weight (less than 5.5 pounds).
Talk to your pediatrician about the need for an iron supplement if your baby was premature or had a low birth weight. The American Academy of Pediatrics (AAP) recommends an iron supplement for breastfed babies four months and older who are not eating iron-rich foods. While breast milk is highly nutritious, it is low in iron. When starting solids between 4 and 6 months, start with iron-rich foods: iron-fortified infant cereal is a great choice.

At this age, iron stores run low, so babies need much more iron from their food than they did just a few months ago. This is also a time when baby’s eating changes a lot--starting with purees and moving on to lumpy purees, with most able to feed themselves table foods between 8 and 10 months of age.
“I find that babies who are started on cow’s milk before one year instead of relying on human milk or formula and iron-rich solids are more likely to be low in iron,” says Natalia Stasenko, MS, RD, pediatric nutrition expert. “To prevent iron deficiency, I recommend parents wait to introduce cow’s milk until after a child’s 1st birthday and serve iron rich foods at least twice daily.”

Although toddlers need less iron than they did as infants, young toddlers are still at risk for iron deficiency. One key risk factor is drinking too much milk. Your child’s belly is only the size of a fist: filling it up with milk crowds out iron-rich foods and makes iron deficiency more likely.
The AAP recommends your one-year-old be tested for anemia. “To prevent iron deficiency in toddlers, I recommend limiting milk to no more than 24 ounces and combining iron-rich foods with vitamin C-rich foods to enhance absorption,” says Stasenko. “I also educate parents about ways to boost dietary iron by serving softer meats (like ground meat) and regularly including legumes on the menu; offering cooked dried fruit like prunes and raisins for snacks and checking labels on cereals to make sure they are fortified with iron.”
There’s a lot you can do to make sure your child avoids iron deficiency. In addition to feeding babies iron-rich food sources and managing the amount of milk they drink, talk to your pediatrician about testing your child for iron deficiency at their one-year check-up.
The American Academy of Pediatrics Recommends:
Introduce iron-rich foods first
Provide two servings of iron-rich foods daily
Provide one to two servings of iron-rich foods daily


(include with non-meat iron sources to increase absorption)
Side-Lying Hold
This hold is useful when:
Cross-Cradle Hold
This hold is useful when:
Clutch or “Football” Hold
This hold is useful when:
Cradle Hold
This hold is useful when:
Laid-Back Hold
This hold is useful when: