How to Spring Clean Your Kitchen
- Home
- Live Well Blog
- How to Spring Clean Your Kitchen
When most people think of spring-cleaning, they think of going through closets and deep cleaning neglected areas in their home. But there’s another type of spring-cleaning that can help your family’s health (and your sanity) and it’s centered around the most used area of your house: the kitchen. Let’s go through each area of your kitchen and consider not only the healthfulness of what you have, but guidelines for storage and food safety.
SNACK FOODS
Stock up on nutritious snack foods such as nuts and seeds, whole grain items like popcorn and whole grain crackers, baked chips and dried fruit.
STORAGE: Keep your pantry dry and cool. Snacks like crackers generally last 3 months, shelled nuts 6 months and unshelled 3 months. If you don’t eat nuts very often, store them in the refrigerator. Dried fruit can keep up to 6 months and un-popped popcorn up to 2 years.
CANNED GOODS
When used often, consider buying reduced or low sodium canned products. Otherwise, rinse items in water to decrease sodium. Healthful canned options include beans (black, pinto and garbanzo), tomatoes, tuna, salmon, and pumpkin.
STORAGE: Try to use canned goods within one year of purchasing but also check “use-by” dates. Toss anything that has expired. Never use infant formula after its “use-by” date.
DRIED BEANS AND GRAINS
Make sure you have dried beans on hand, which make a satisfying and inexpensive main dish or side. When it comes to grains, aim for at least half “whole grains” including brown rice, oats, whole-wheat pasta, quinoa, and barley.
STORAGE: Dried beans and pasta generally last a year, brown rice 6 months and white rice 2 years. After packages are opened, store in airtight containers.
BREADS AND CEREALS
Go for breads with whole grain as the first ingredient and at least 2g of fiber per serving. Aim for cereals that have at least 3g of fiber and 6g or less of added sugar per one ounce serving.
STORAGE: Most bread without preservatives will last in the fridge for 2-3 weeks, but only a few days on the kitchen counter. Unopened cereals can be stored in the pantry for about a year but after opening eat within 2-3 months.
SPICES AND BAKED GOODS
Check dates on spices and organize them. When it comes to baked goods, consider using whole-wheat flour and oats to increase the nutritional value of muffins, pancakes and waffles.
STORAGE: Store spices in a cool, dry place—they don’t spoil but do lose flavor over time. Flour can be stored in the pantry for a year, while whole wheat flour keeps better in the fridge (6-8 months).
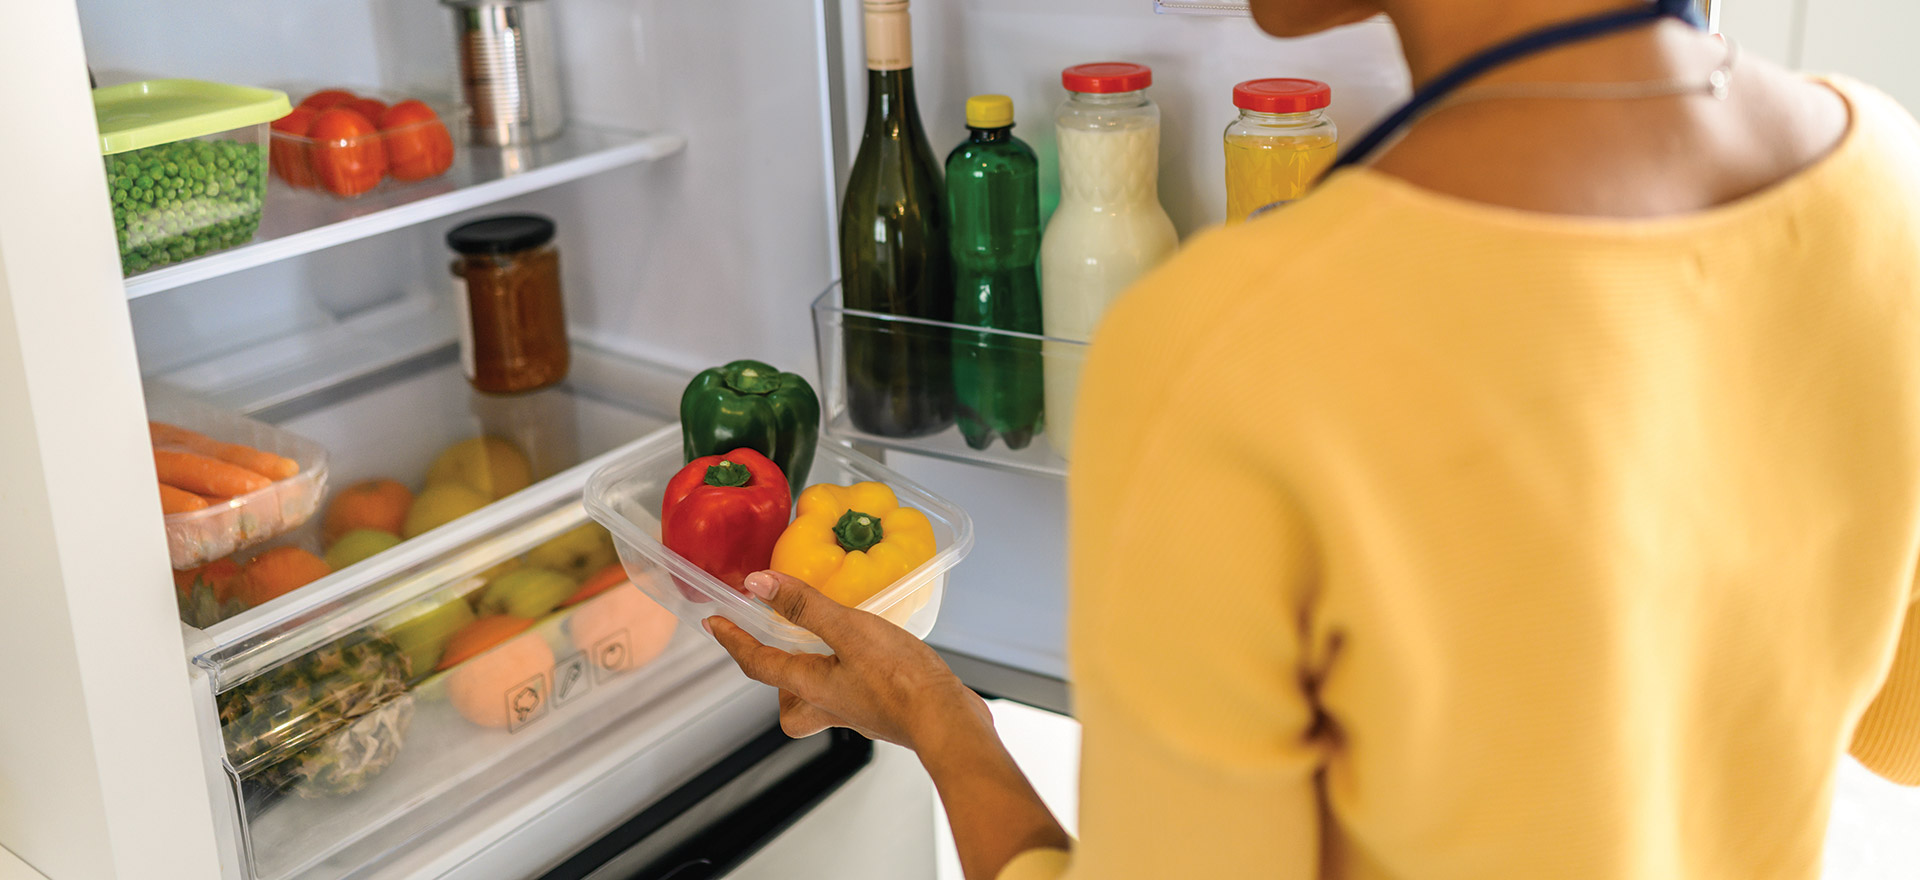
REFRIGERATOR
Choose low fat dairy products like milk and yogurt and lean deli meats like turkey and ham. When choosing juice, make sure the label says “100% juice”. Packaged, opened fruits should be eaten within 5 days. For fresh fruits and veggies, the fresher you eat them, the healthier they are—most should be eaten within 2-5 days. Thick-skinned produce like apples, oranges, radishes, and turnips will last a few weeks in the fridge.
STORAGE: Keep the temperature of your refrigerator at 40°F or below. Clean the inside of your fridge with warm soapy water, then rinse with clean water. Clean up blood spills with an antibacterial wipe or a weak bleach solution of ½ teaspoon bleach to 2 cups water. Check labels for expiration dates. Store poultry, ground meat and uncooked sausage in the fridge for 1-2 days and beef, veal, pork, and lamb for 3-5 days. Freeze what you don’t use in time. Eggs can be stored for 3-5 weeks after purchasing.
FREEZER
When going through your freezer, ask yourself if you rely heavily on convenience items. Are they nutritious? High in sodium? Brainstorm meals you could make yourself and freeze like bean burritos, muffins, waffles and various dinner meals. This also saves you money!
STORAGE: Keep the temperature of your freezer at zero degrees or below. Although food will not spoil when frozen, over time it can lose its quality and nutritional value. Make sure to label with the date and use the oldest foods first.
FOOD QUALITY & SAFETY
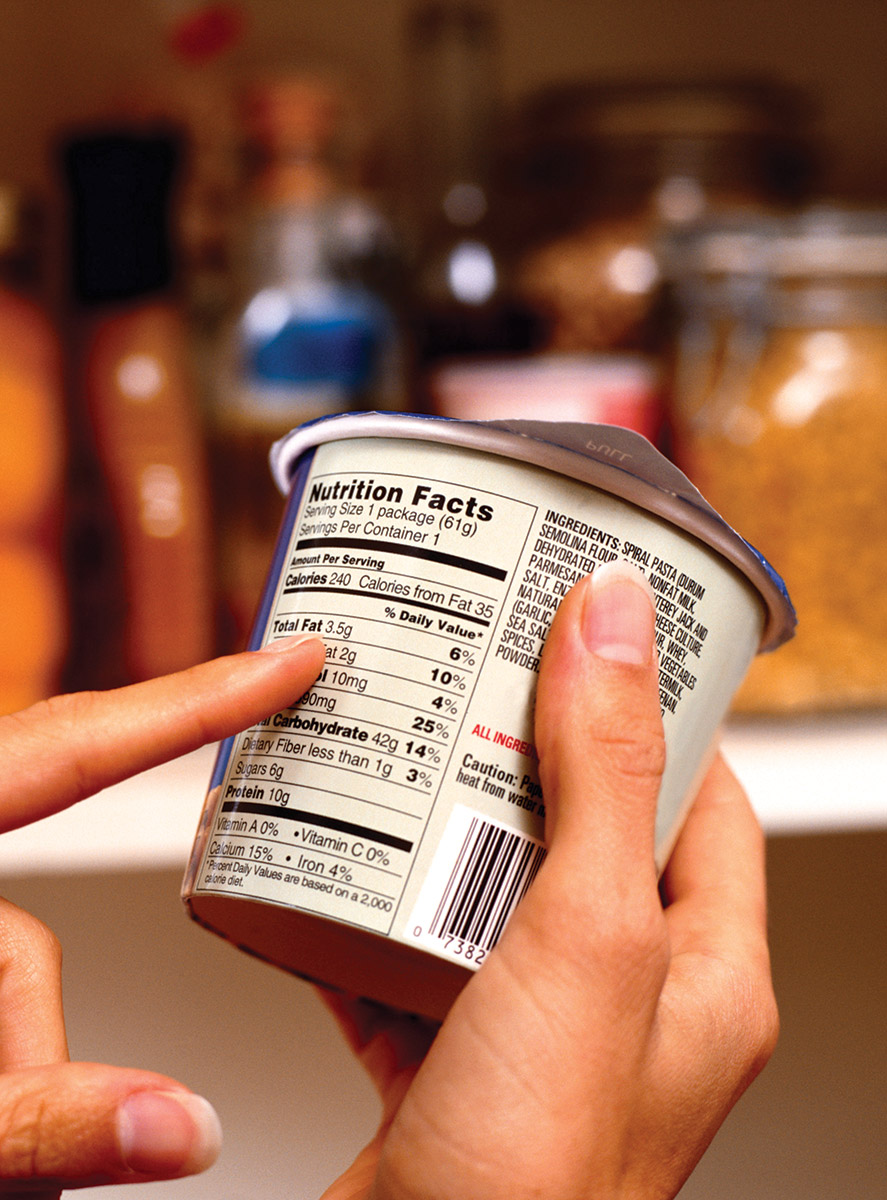
What do dates on food labels actually mean?
- Sell by: How long the product should be for sale but is usually safe to eat after that date.
- Best if Used By (or Before): Suggestions based on quality and flavor of the product.
- Use by: Set by the manufacturer to let consumers know the product’s peak quality.
NUTRITION WATCH OUTS
SUGAR: Reduce added sugar when possible, which is listed in the ingredients. Natural sugars found in milk, yogurt and fruit juice will also be listed on the label. Four grams of sugar is equal to one teaspoon.
SODIUM: Choose more whole natural foods like lean meats, fruits and vegetables but when choosing other products, aim for sodium that has less than 20% of the Daily Value.